In my last post I shared why you should setup a blog for your brand. In this post I will show you how to setup a self-hosted wordpress blog. Even though I often work with technical people, many do not know how easy it is to get started.
[youtube id=”LsHcrKB3AXs”]
Two Ways to Setup a Blog
1. Use a tool like wordpress.com or blogger.com. These are free and fast, a lot like setting up a Facebook or LinkedIn page. The good side is that they are easy and cost nothing. The bad side is they are limited and you do not control your content or settings.
2. Setup a self hosted blog. This costs some money. About $10 per year for a domain name and about $100 per year for hosting. But, you get to “own” the space and therefore have more control of how your site looks and operates.
What you need to Get Started on your WordPress setup
1. A domain name – What do you want to call your site? One option is to use your name. But, many names are taken, so you might have to use some variation to make it work. Check out instant domain search to help you find an available name. I would get the .com site as opposed to all the other options such as .org, .co, or .net – but that is just me.
2. A hosting platform – The company that has the actual server connected to the Internet. They will rent you space. A few of the most popular are listed here.
- Hostmonster $3.95 per month
- BlueHost $3.95 per month
- Inmotion – $5.99 per month
- Hostgator $3.96 per month
I have found all of these about the same. Same look at feel and great support. Many bloggers go with BlueHost. Note that all of the above are affiliate links. I prefer Hostmonster and Bluehost because they are less confusing.
3. A credit card.
4. About 30 minutes.
How to setup a self-hosted WordPress site (on Hostmonster)
I will use Hostmonster as my example. Bluehost will be almost exactly the same. Others will be similar once your find their “Start here” button.
1. Click the Sign Up Now button.
2. Assuming you do not have a domain and have found an available one, now enter it in the “Enter Domain Name” box.
3. Now enter your account information. The $3.95 rate is usually for 3 years. I would just start with 12 months. Also, turn off all those other features, you do not need them now, or maybe ever.
4. Now login to the control panel or CPANEL and find the install scripts. Might be called “1 click installs” or “simple scripts”
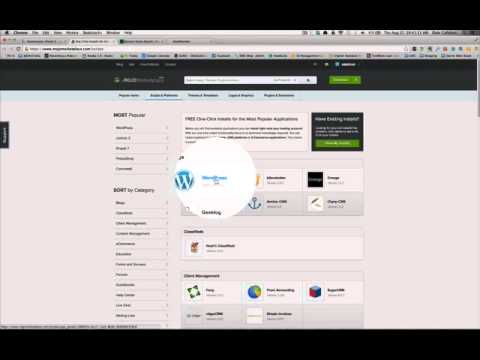
5. Chose WORDPRESS.
6. Chose the domain name you just bought and click install. If it warns you that you are about to overwrite existing content, that is OK. You have nothing there yet so just click yes or check that you acknowledge.
7. Now you will get logins.
Now login and go create your first post! Have fun!!


0 Comments